 |
Go back to popeye section to read more about the program, its advantages, disadvantages, and options of how it can be used in more efficient way,but here we came to the part for the beginners: Popeye installation and examples of workingThe last version of popeye is available at https://github.com/thomas-maeder/popeye/releases/ |
The manual below explains how to download (and install) Popeye from the address used till August,2015. The page will be updated soon showing the new location.
I’ll show the installation process on the example of Popeye version 4.59! Everything will be almost the same for the next versions except the numbers (like, there’s v.4.61 starting 15-may-2012, so the file name is popeye-4.61-windows.zip)
So, the installation process:
Step 1. Click the link http://sourceforge.net/projects/popeye-chess/files/ to go to the home of popeye and you’ll see the page like this:
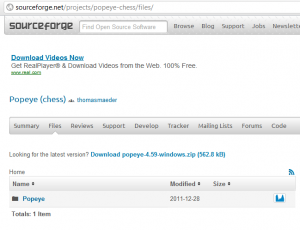 Step 2. Choose – Download popeye-……. (the number of the last version). The file with the last version will look like:

or, starting 15-May-2012 – the newer version:
For your info: you see below the another link to Popeye:

If you choose this one, you’ll get the list of files with all the previous versions of popeye.
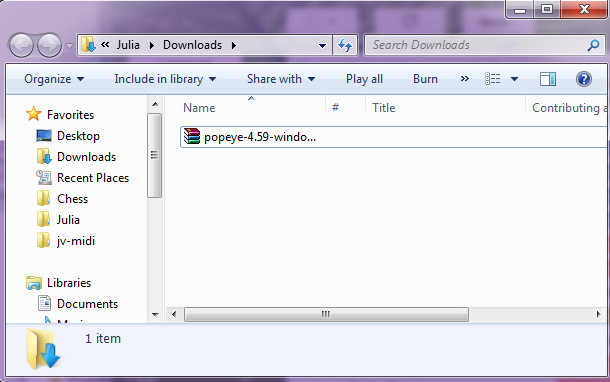
Step 3. After you’ve clicked the link for Download Popeye, the file which is .zip archive will be saved in your computer. Depending on the settings of your browser it might be that you’ll be asked about the directory for saving the file or it will be saved automatically to the directory specified for all your downloads. The directory is not important. You can choose any you like. In my example I have C:UserJuliaDownloads and you see that I have the file popeye-4.59-windows.zip inside this directory:
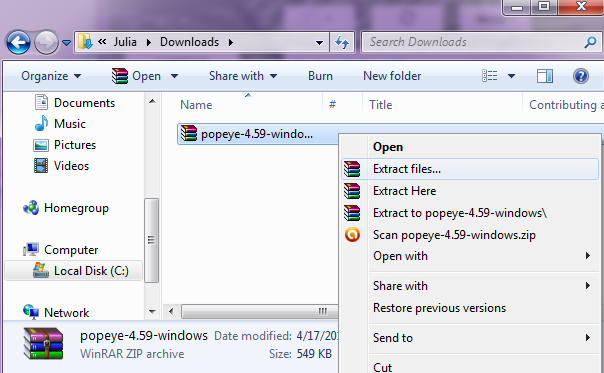
Step 4. Now we have to unzip this file, as this is the archive and all our files for popeye are inside it. For different Windows and with different unzip-programs it might also look differently, but the main idea will be the same. Click the file popeye-4.59-windows.zip with the right button of your mouse and you’ll see the menu with the option Extract files… like this:
Step 5. Now we have to choose where to extract files – it is where our program files will be stored. In my example I use the root of the disk C: like this:
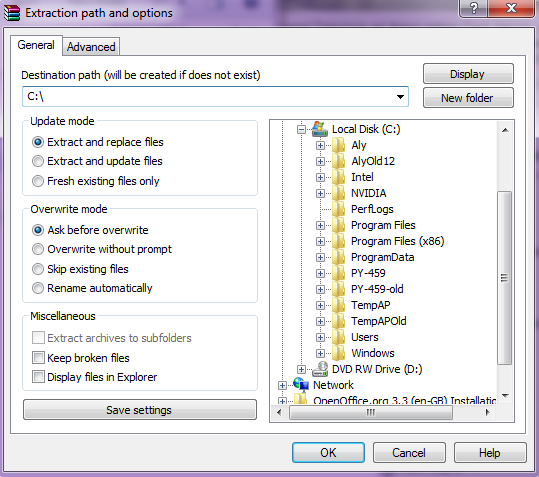
You can specify the same C: or your own directory here and than click OK button on the bottom.
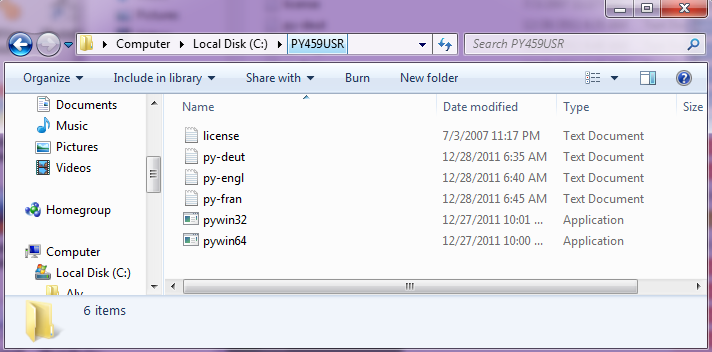
Step 6. Now, using File Manager, see what you have in the directory you specified for popeye files, like I do:
The folder PY-459USR is created on my C: disk, so I have now the directory C:PY-459USR with all popeye files from the archive.
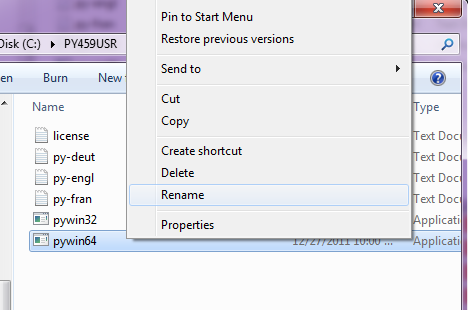
Step 7. Depending on your system you have to choose either 32-bit of 64-bit version of popeye. You see 2 executable files: pywin32 and pywin64. To make the future work more simple you can rename the file you will use to py.exe In my example I’ll be using 64-bit version of popeye, so I will rename it. To rename a file click its name with the right button of your mouse and choose the menu option Rename:
Now you can edit the name: 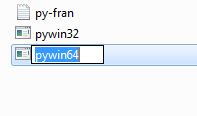
Delete some characters to leave just py for filename:
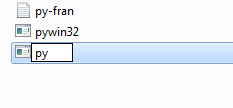 Now you have your program py ready to run!
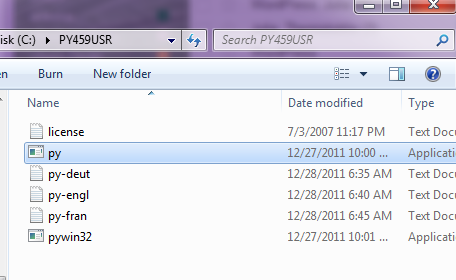
You can either run it from this folder or put to your desktop. One more thing before you start to work!! – In the folder on the picture above you see also the following help-files:
py-deut – help in German
py-engl – help in English
py-fran – help in French
Use the one which is most convenient for you. Open it with Word or WordPad. I don’t suggest to use Notepad, as you’ll have unformatted text with the very long lines there. This file contains the description of popeye, the commands for running, the arguments, the conditions, the codes for all the pieces popeye supports.
Now we came to the work with popeye:
Double click your program name py with the left button of your mouse to run popeye. You’ll get the following screen:
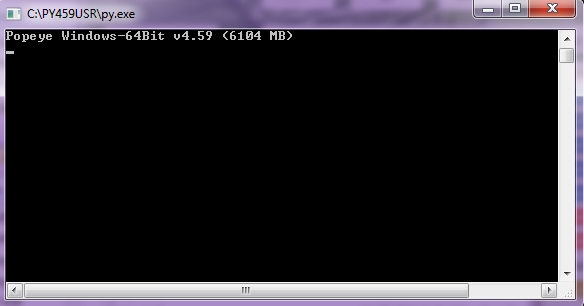
The program is running and waiting for your input. Input is the notation of your problem. The example of the simple notation is:
BeginProblem Stipulation h#2 Pieces White Kh7 Rh2 Bc3 Sd3 Pa2 Black Ka3 Rb5 Ra4 Bd2 Sb2 EndProblem
It’s possible to use just 3 first characters for the key-words. But there’s one bug in the last version (4.59) of the program which closes the window of popeye right after it has found the solution, so you can’t even see it, in case if you use EndProblem for the end of problem. The solution is to use Next instead of End (but come back to popeye section later to read about other options of avoiding this problem and some other too). You have to type the notation manually here. The example:
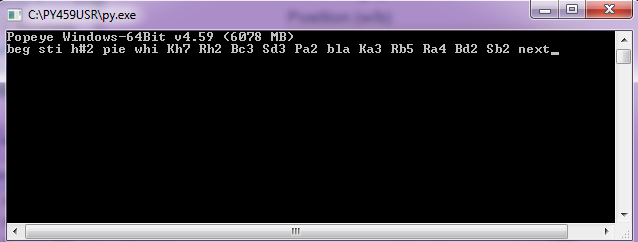
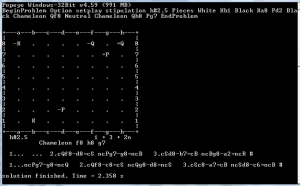
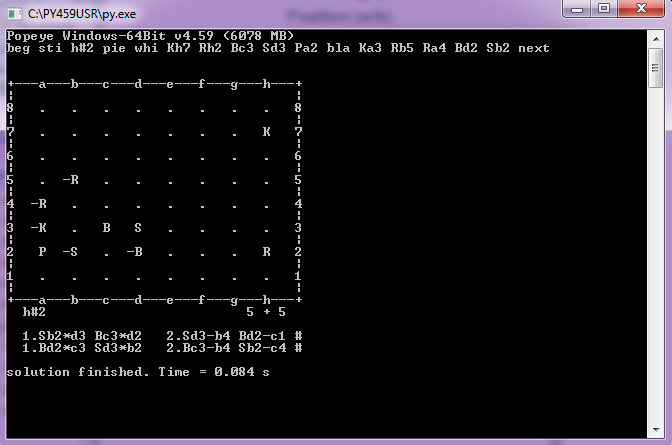
Press [ENTER] key on your keyboard when have finished your entry. Popeye will give you the diagram and solution like this and will be waiting for the input of the next problem:
Now please go back to my popeye main page to read about the problems and how to avoid them.
→Return to Popeye
→Return to Software
Please feel free to send me comment/questions(English, Russian, Latvian)! Use Leave a Reply form below or my email address.
Good luck in learning popeye! Julia


